HAPPY NATIONAL OREO COOKIE DAY!
MARCH 6TH
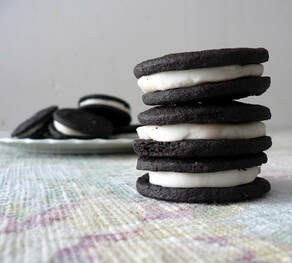
Homemade Oreo Cookies Recipe
  |   |
Photos Credit: https://www.blessthismessplease.com/homemade-oreo-cookies/
Details
Description
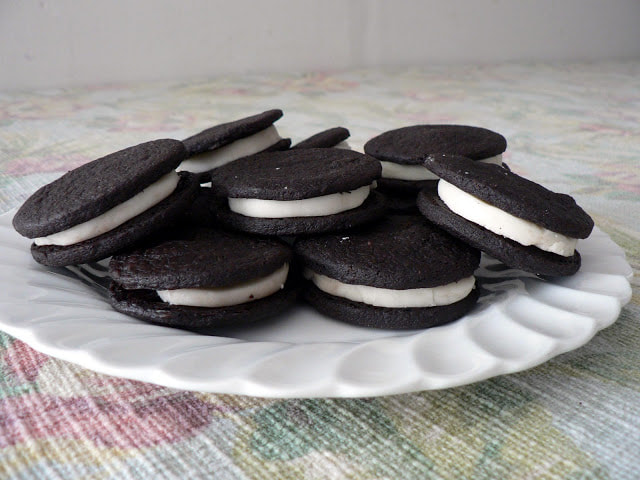
Homemade Oreo cookies made with dark cocoa powder that are crispy on the outside with a perfect cream filling in the middle.
Ingredients
Dough
Instructions
- Author: Melissa Griffiths - Bless this Mess
- Prep Time: 30 minutes
- Cook Time: 10 minutes
- Total Time: 40 minutes
- Yield: 24 Cookies
- Category: Dessert
- Method: Oven / Mixer
- Cuisine: American
Description
Homemade Oreo cookies made with dark cocoa powder that are crispy on the outside with a perfect cream filling in the middle.
Ingredients
Dough
- 1 1/4 cups butter, at room temperature
- 2 cups powdered sugar
- 1 cup dutch processed cocoa or dark cocoa powder (I used Hershey’s Special Dark Cocoa)
- 1/2 tsp. salt
- 1 tsp. vanilla
- 1 1/2 to 1 3/4 cups flour
- 4 cups powdered sugar
- 1/2 cup butter, melted and cooled
- 1 T. vanilla extract
- Water
Instructions
- In a stand mixer, with a cookie paddle attached, cream the butter and sugar together on medium speed until the mixture is light and fluffy, about 2 minutes. Add the cocoa powder, salt, and vanilla and mix until incorporated. Add half of the flour and mix. Add the remaining flour, 1/4 cup at a time until you get a pretty dry dough. You don’t want the dough to be sticky at all and it might even crumble just a little. Don’t be worried about a dry dough…we want a cookie that doesn’t spread when baked and is crispy! Divide the dough into 3 balls and pat them together to form a disk. Cover the disks in plastic wrap and refrigerate for about 15 minutes.
- Now if your world is crazy like mine and 3 hours instead of 15 minutes pass before you get back to baking, let the dough rest at room temperature for 15 minutes. The butter makes the dough super stiff if it’s too cold.
- Preheat your oven to 350 degrees. Remove plastic from one disk and roll your dough out between two pieces of parchment paper or on a lightly floured surface. Roll the dough thin! We are talking 1/4 inch to an 1/8 inch thick. Use a 2 inch circle cutter to cut out the cookies. Place on a cookie sheet and bake for 8-9 minutes. It’s super hard to tell when a near black cookie is done. I baked mine for 10 minutes the first round and they tasted burnt on the bottom, so you’ll need to adjust as you go. Repeat with the rest of the dough. Place the cookies on a wire rack to cool.
- While the dough is chilling, mix up the cream filling. Using a stand mixer with a cookie paddle attachment, mix the powdered sugar, melted butter, and vanilla extract together. Add 1 teaspoon of water at a time, if needed, until the mixture resembles a thick dough that is about the constancy of play dough.
- Divide the filling in half and roll it into a log that is about 2 inches wide. Roll the log in plastic wrap and let it chill in the fridge while the cookies are baking.
- After the cookies are cool, it’s time to assemble! Remove the filling from the plastic wrap. Using a sharp knife, slice off a piece that is between 1/4 to a 1/2 inch thick. This is the fun part of making your own Oreos. You can have traditional cream thickness, double stuffed, or even triple stuffed! Oh the wonder!
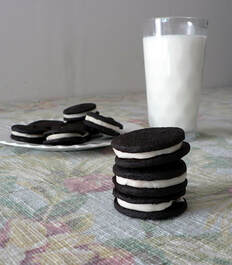
- Stack a cookie, cream, and then another cookie. Press lightly together. Repeat, repeat, repeat! Serve with milk – whole milk if you are feeling really decadent!
Recipe Credit: https://www.blessthismessplease.com/homemade-oreo-cookies/


 RSS Feed
